Getting Started
Quick Start: Your First 15 Minutes
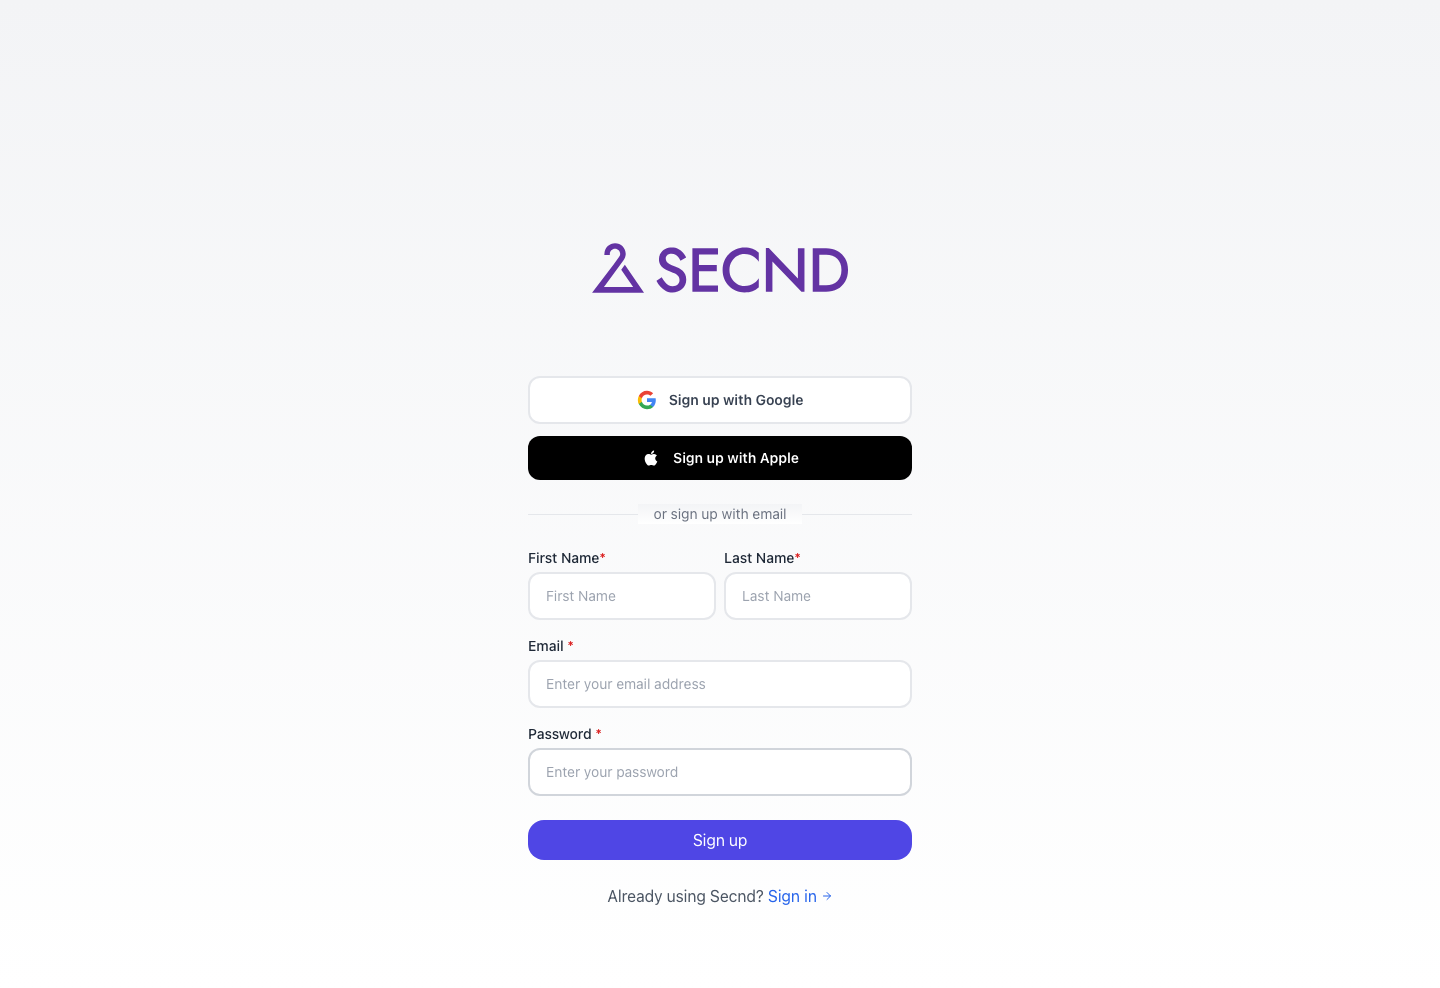
Sign up, connect a marketplace, import your listings, and cross-list your first item using the dashboard's Get set up checklist.
Last updated 2026-05-24
TL;DR
What you'll need
Before you start, have these ready:
- A working email address (or a Google / Apple account if you prefer social sign-in).
- Login credentials for at least one marketplace you already sell on — eBay, Etsy, Shopify, Poshmark, Depop, Grailed, Square, Lightspeed, or Facebook Marketplace.
- Google Chrome on a desktop if you plan to connect Poshmark, Depop, Grailed, or Facebook Marketplace — those use the SECND Chrome extension for passwordless connection.
Step 1: Sign up at secnd.ca
Create your account
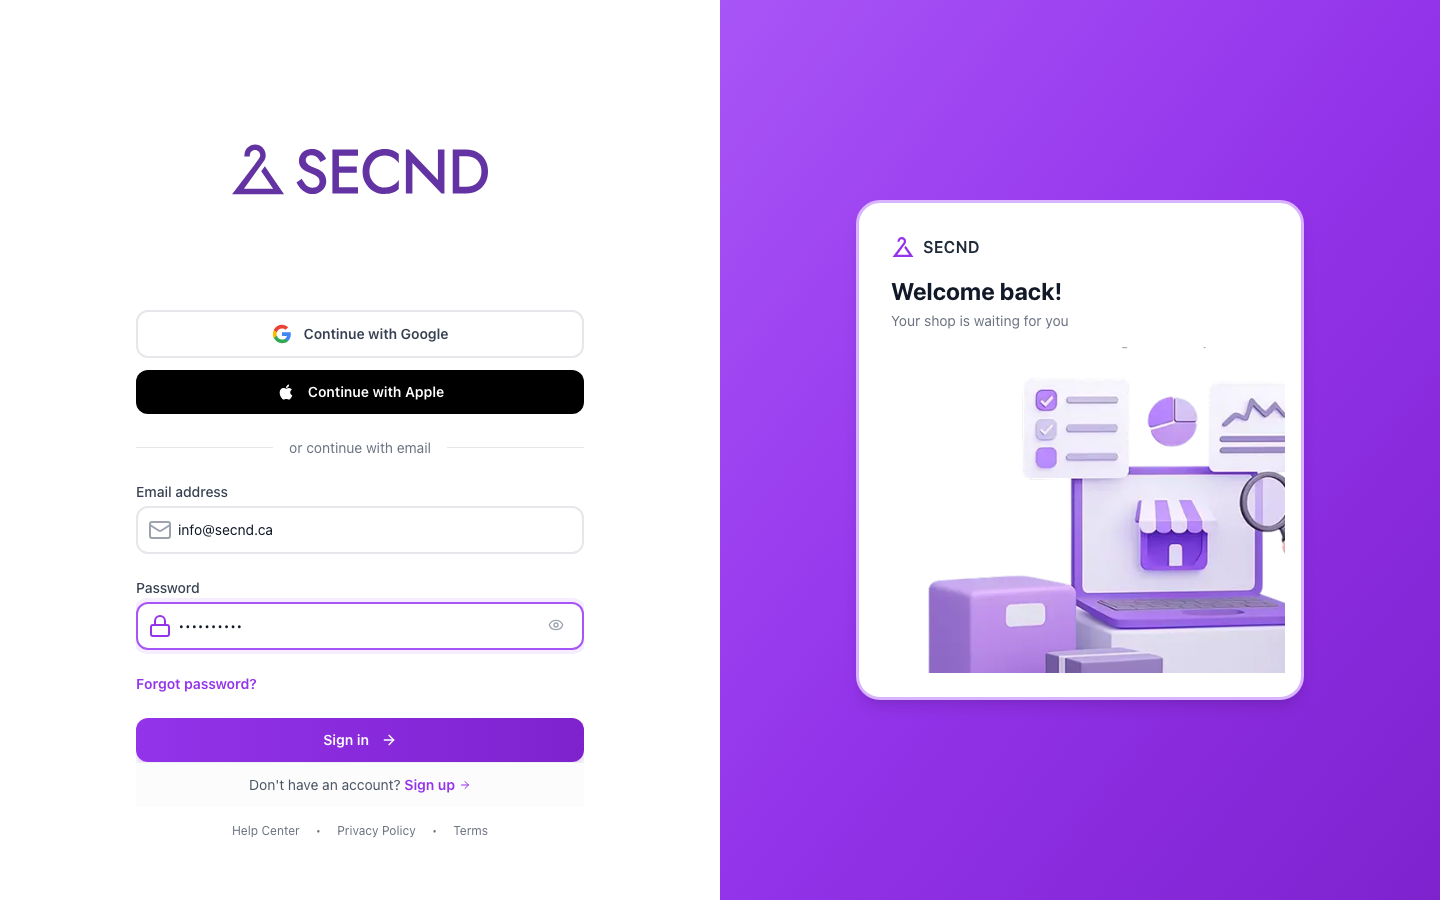
Step 2: Sign in
Sign in with the credentials you just created
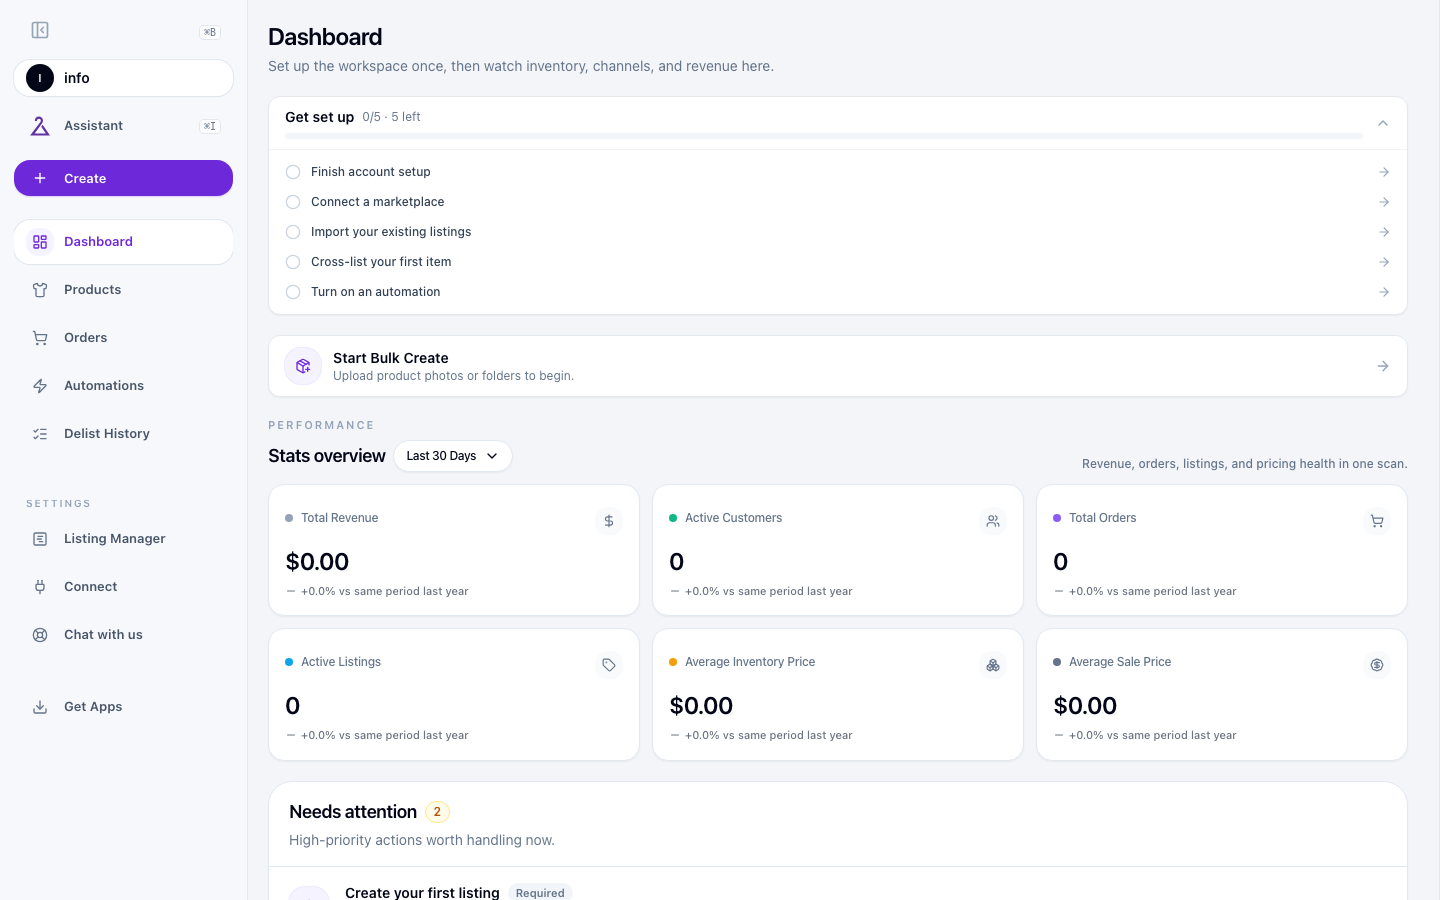
Step 3: Open the dashboard
Signing in drops you on the SECND dashboard. The top card is Get set up — a five-task checklist that takes you from empty workspace to first cross-listed item. Work through it from top to bottom.
Meet the Get set up checklist
Note
Step 4: Finish account setup
Click ‘Finish account setup’
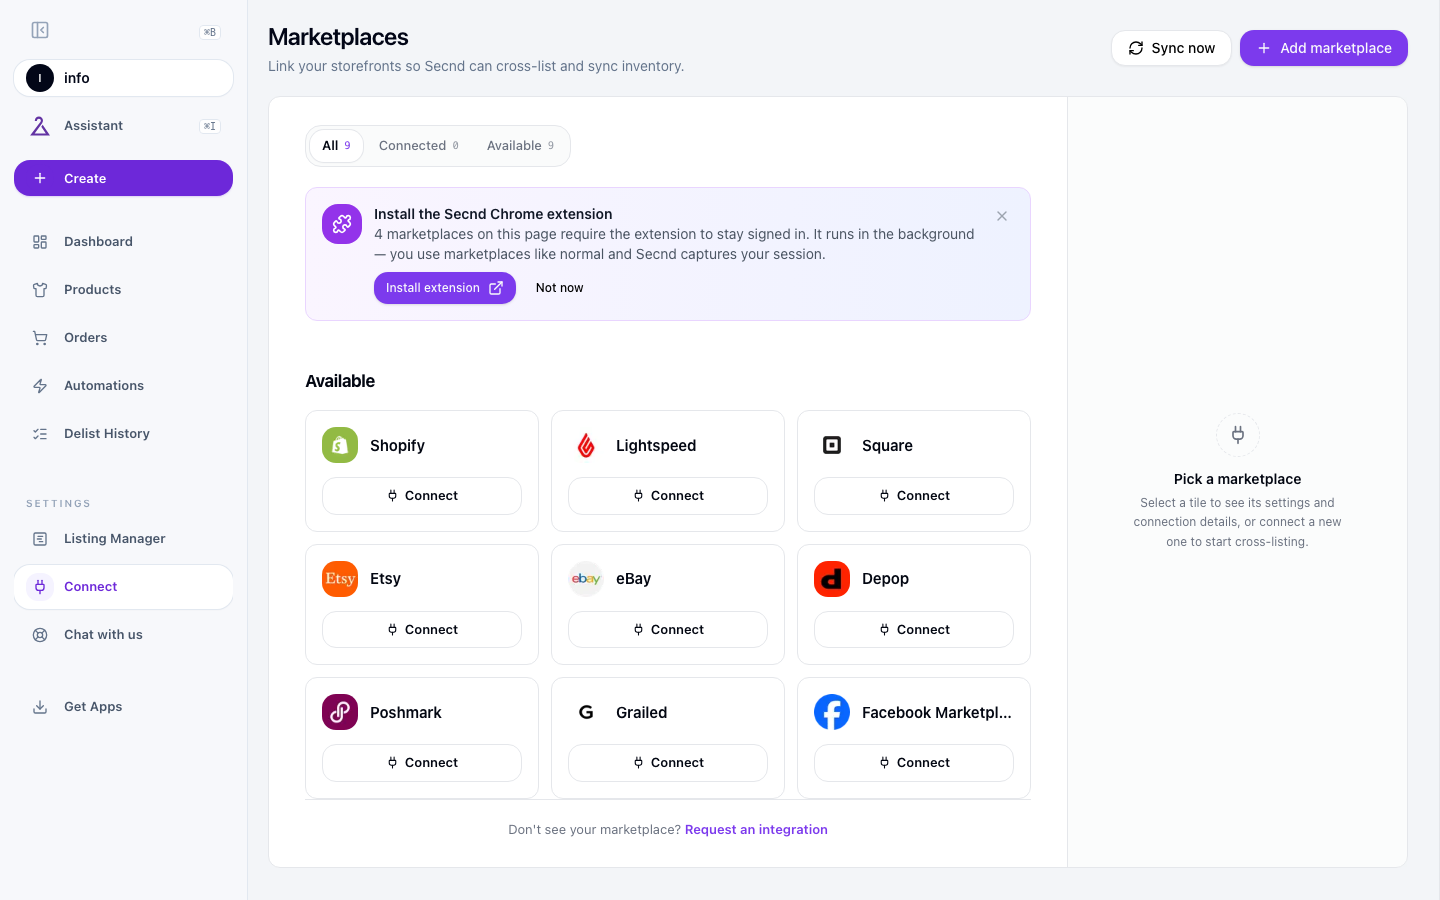
Step 5: Connect a marketplace
Click Connect in the sidebar. The page is titled Marketplaces and shows every platform SECND supports as a tile under Available.
Pick a marketplace and click Connect
Authorize SECND on the marketplace
Poshmark, Depop, Grailed, Facebook: install the Chrome extension
Step 6: Import your existing listings
Once a marketplace is connected, SECND starts pulling your active listings. The Get set up task Import your existing listings (#3) links to the import flow.
Watch the import progress
Step 7: Cross-list your first item
Open the first listing
Pick another marketplace and publish
Verify on the marketplace
Good to know
Step 8: Turn on an automation
The last Get set up task (#5) is to turn on at least one automation. Automations run in the background — auto-delist when an item sells elsewhere, auto-import new listings, scheduled cross-lists, and so on.
Open Automations
Create or enable one
Good to know
Common questions
Related guides
Welcome to SECND
What SECND does, who it's for, and the three things to know before you start.
Which marketplace should you connect first?
Decide which marketplace to connect first based on where your sales already live.
Connect with the SECND Chrome Extension
Use the passwordless Chrome extension to connect Poshmark, Depop, Grailed, and Facebook Marketplace.
What SECND set up for you
After you connect a marketplace, SECND chooses sensible defaults. Here's how the dashboard receipt works.
The SECND AI Assistant
What the assistant can do, when to use it, and how to escalate to the founder.
Have a question that isn't answered here? Contact the SECND team.